Getting Started
1. Install app from Hootsuite App Directory
Open the url https://apps.hootsuite.com/ in your browser and search Adobe Workfront. Click on the button “Install“ to start the installation process.
2. Add the Adobe Workfront App as Stream
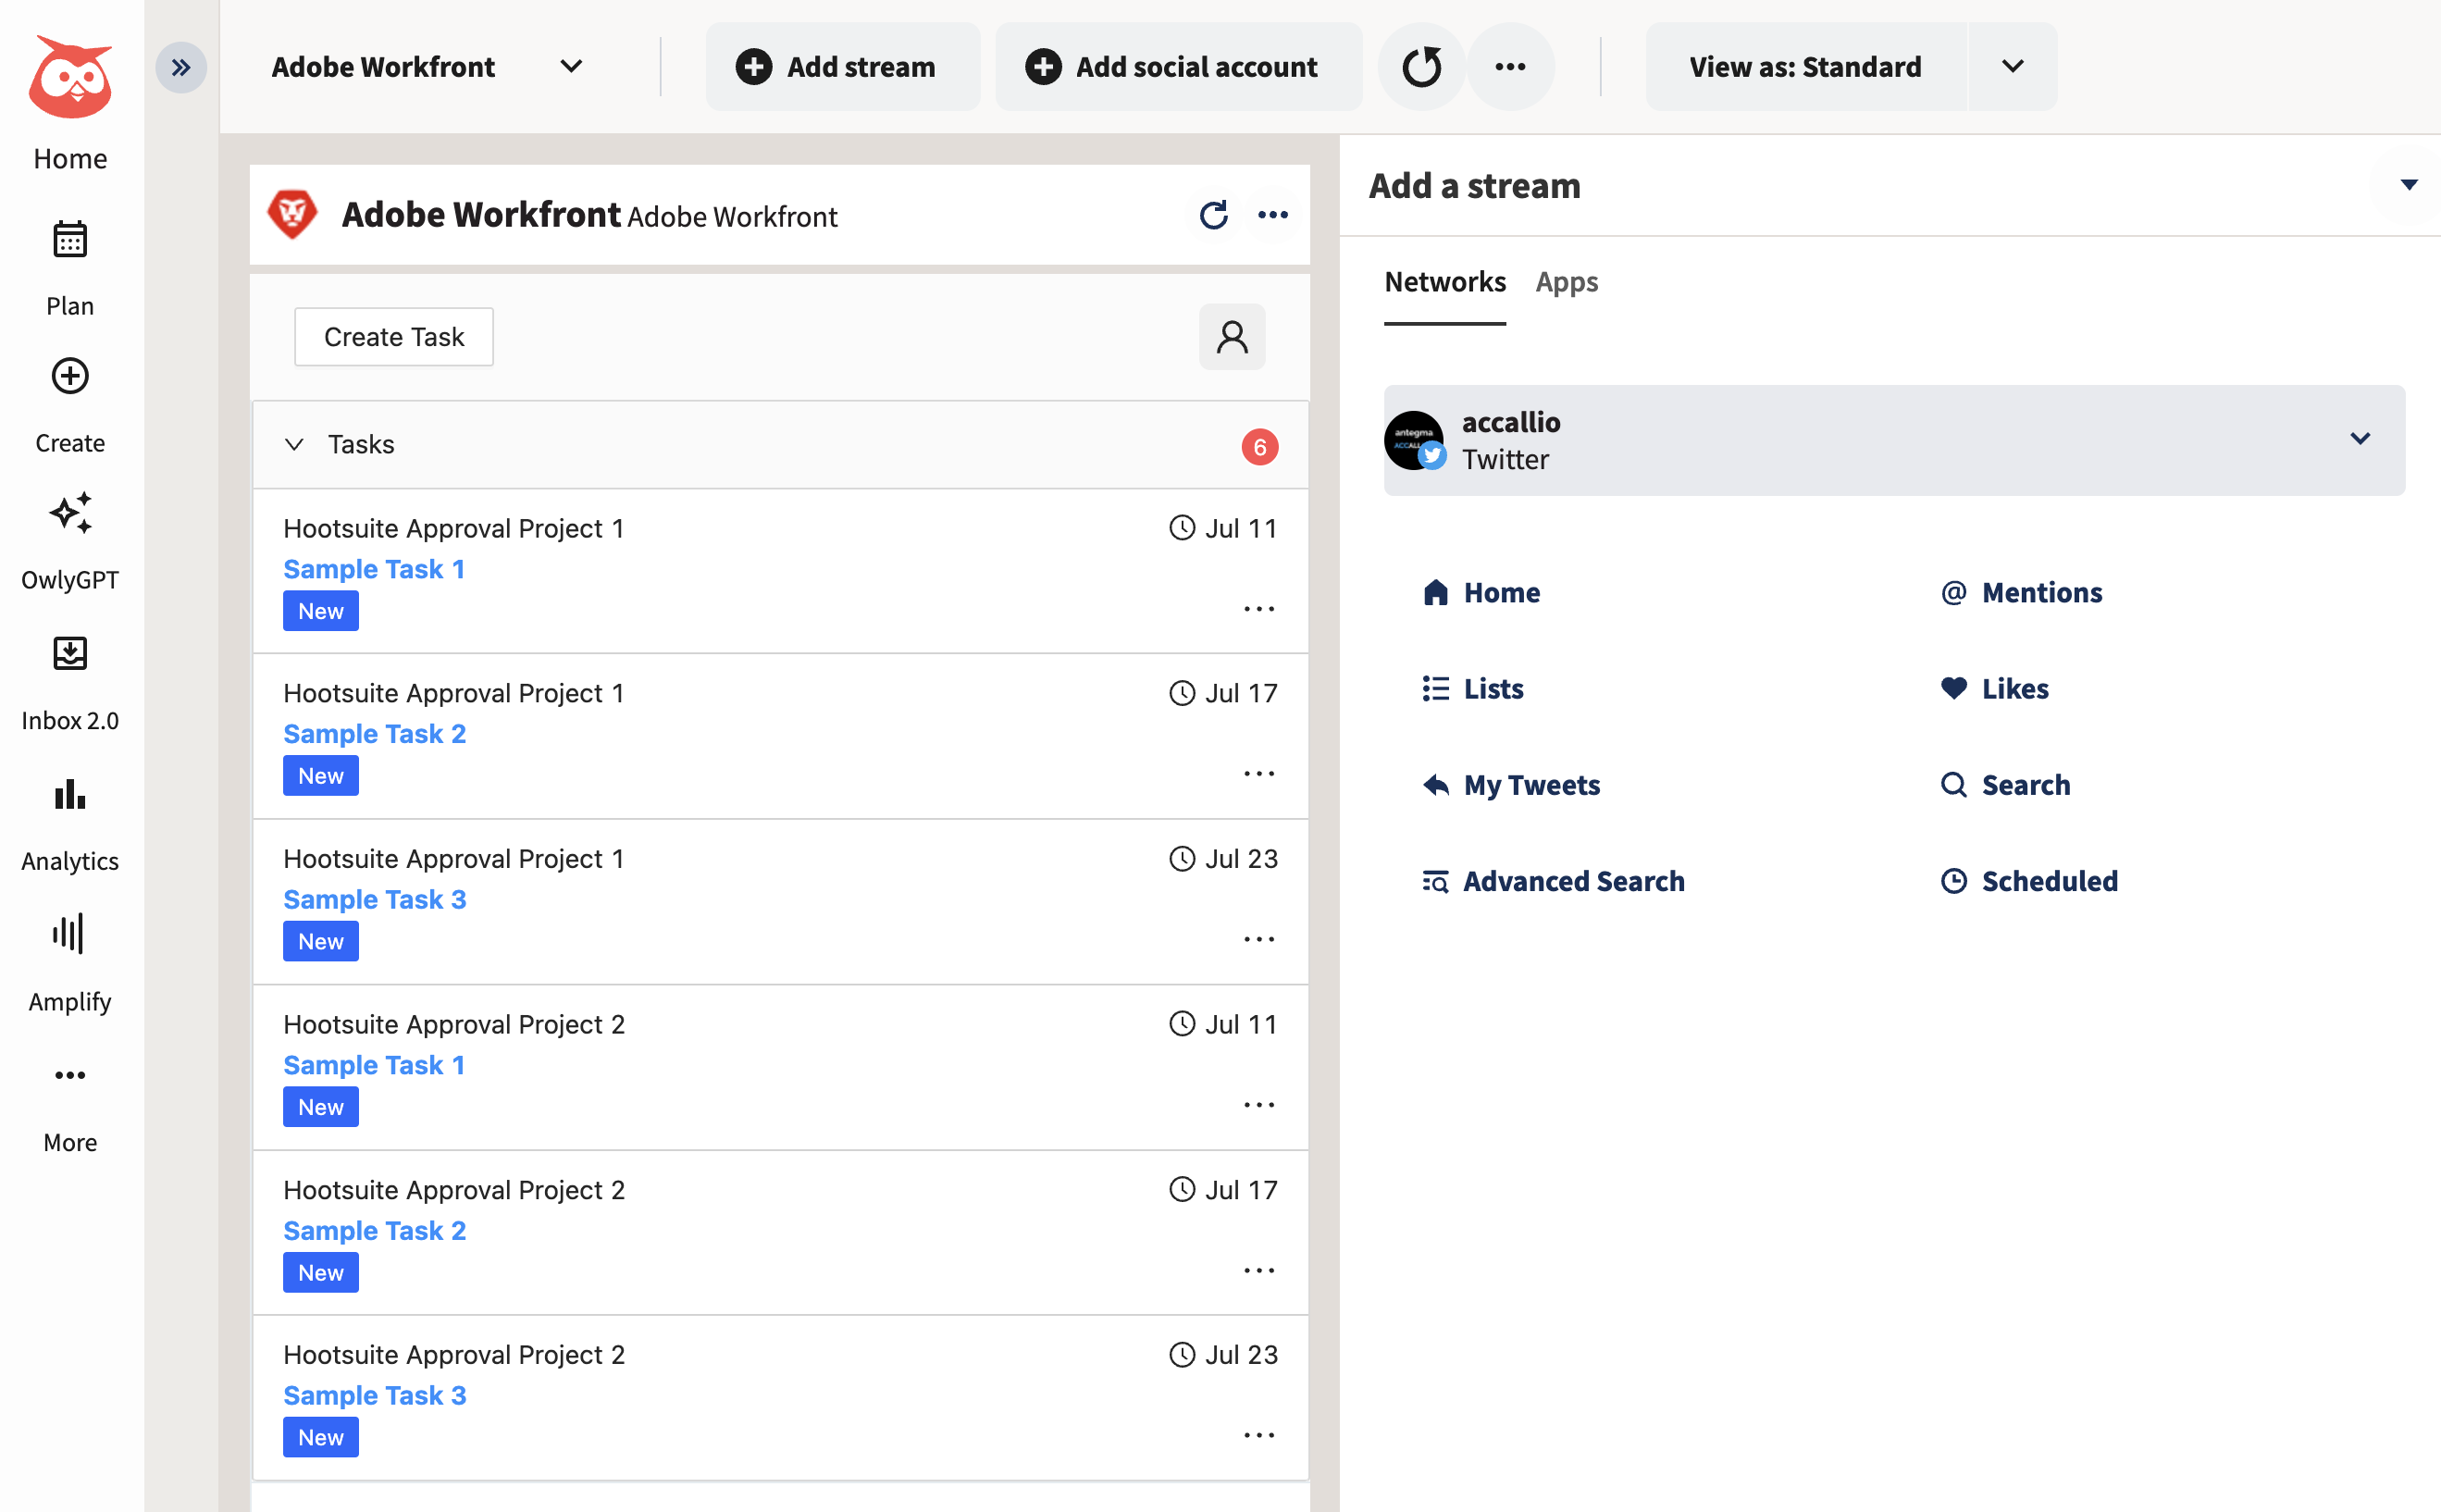
Click on button “More“ (***) in the Hootsuite UI and select Streams.
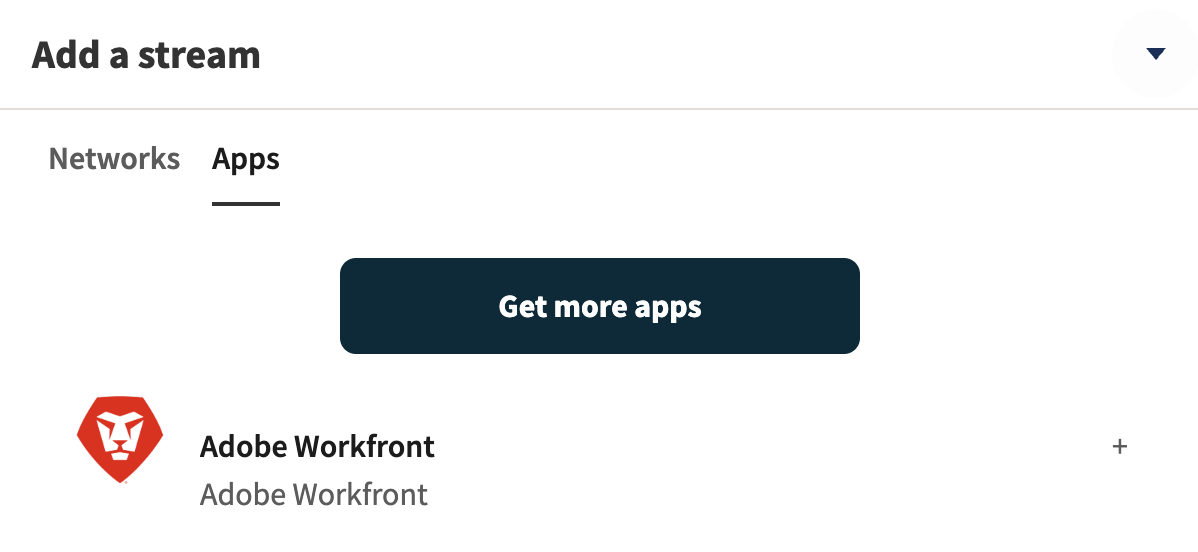
In the panel “Add a stream“ click on “Apps“ and select Adobe Workfront
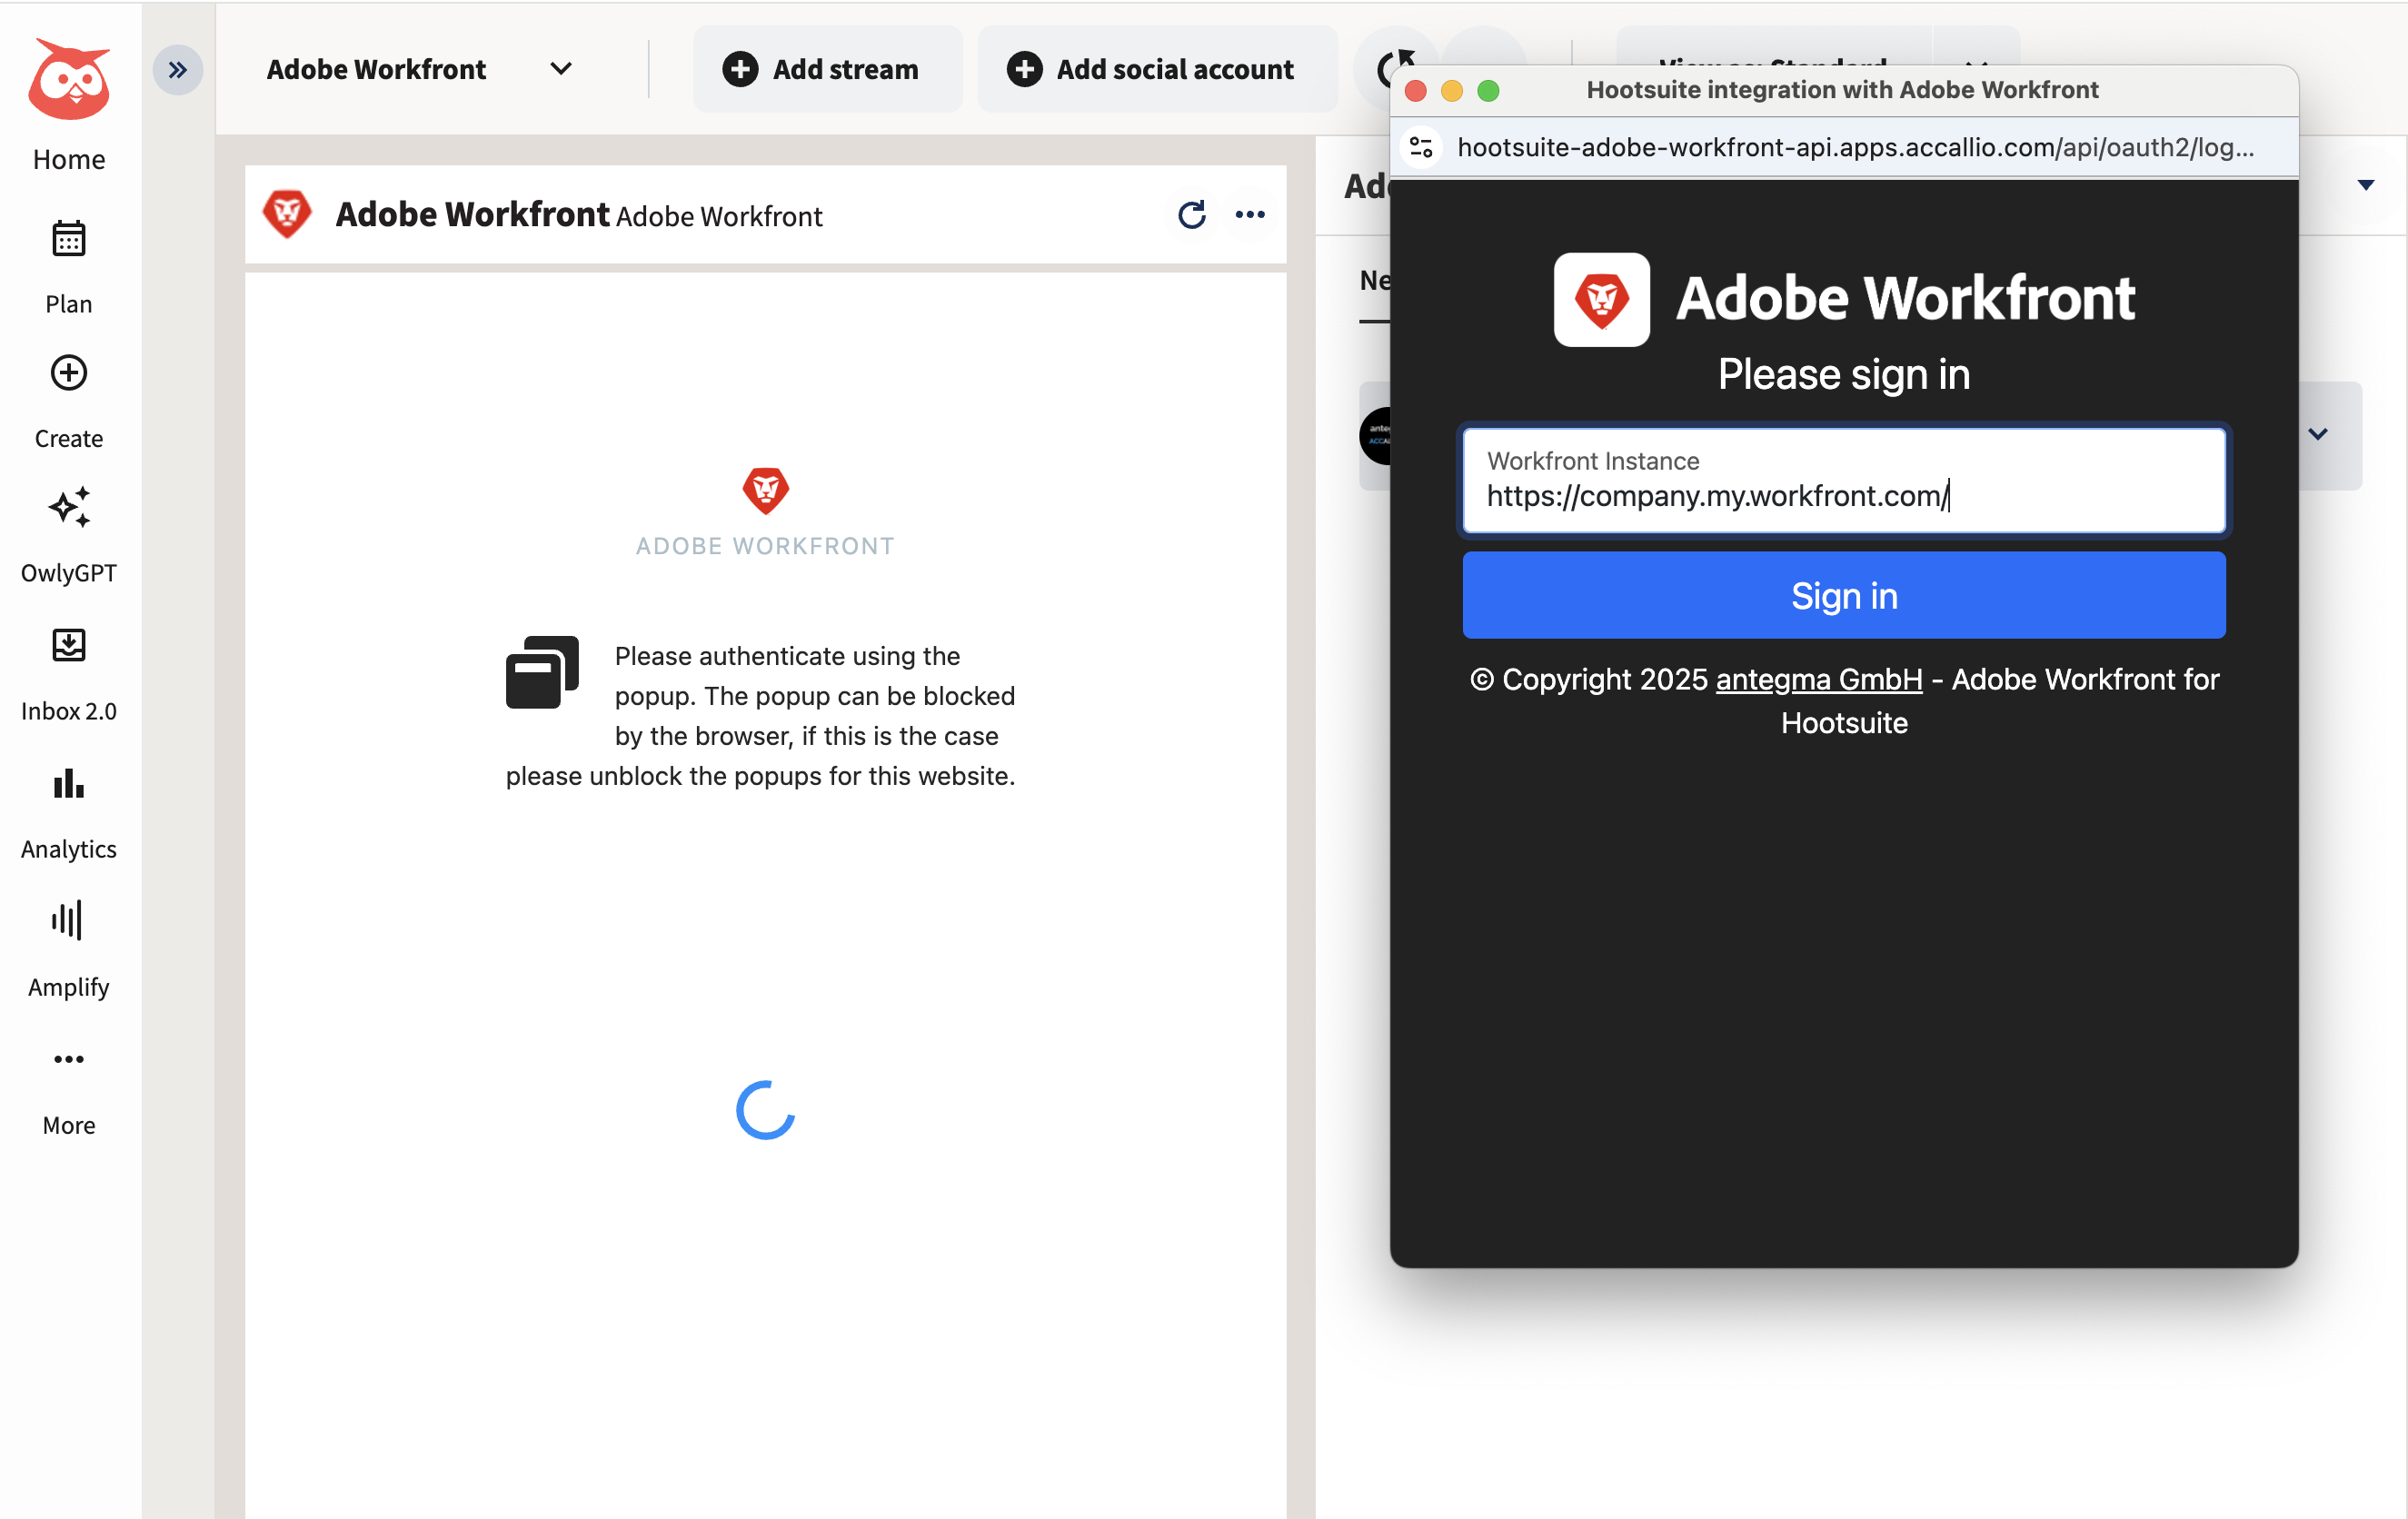
3. Enter your Workfront URL Instance
Next you have to enter your Workfront URL into the dialog, the Workfront URL is normally ending with my.workfront.com: e.g. https://company.my.workfront.com.
If you don’t the Workfront URL, you find the address part in the URL of the Experience Cloud:
https://experience.adobe.com/#/@antegmaemeaptrsd/so:company-Production/workfront/home/workspaces

Use this part to build your Workfront Instance URL: https://company.my.workfront.com.
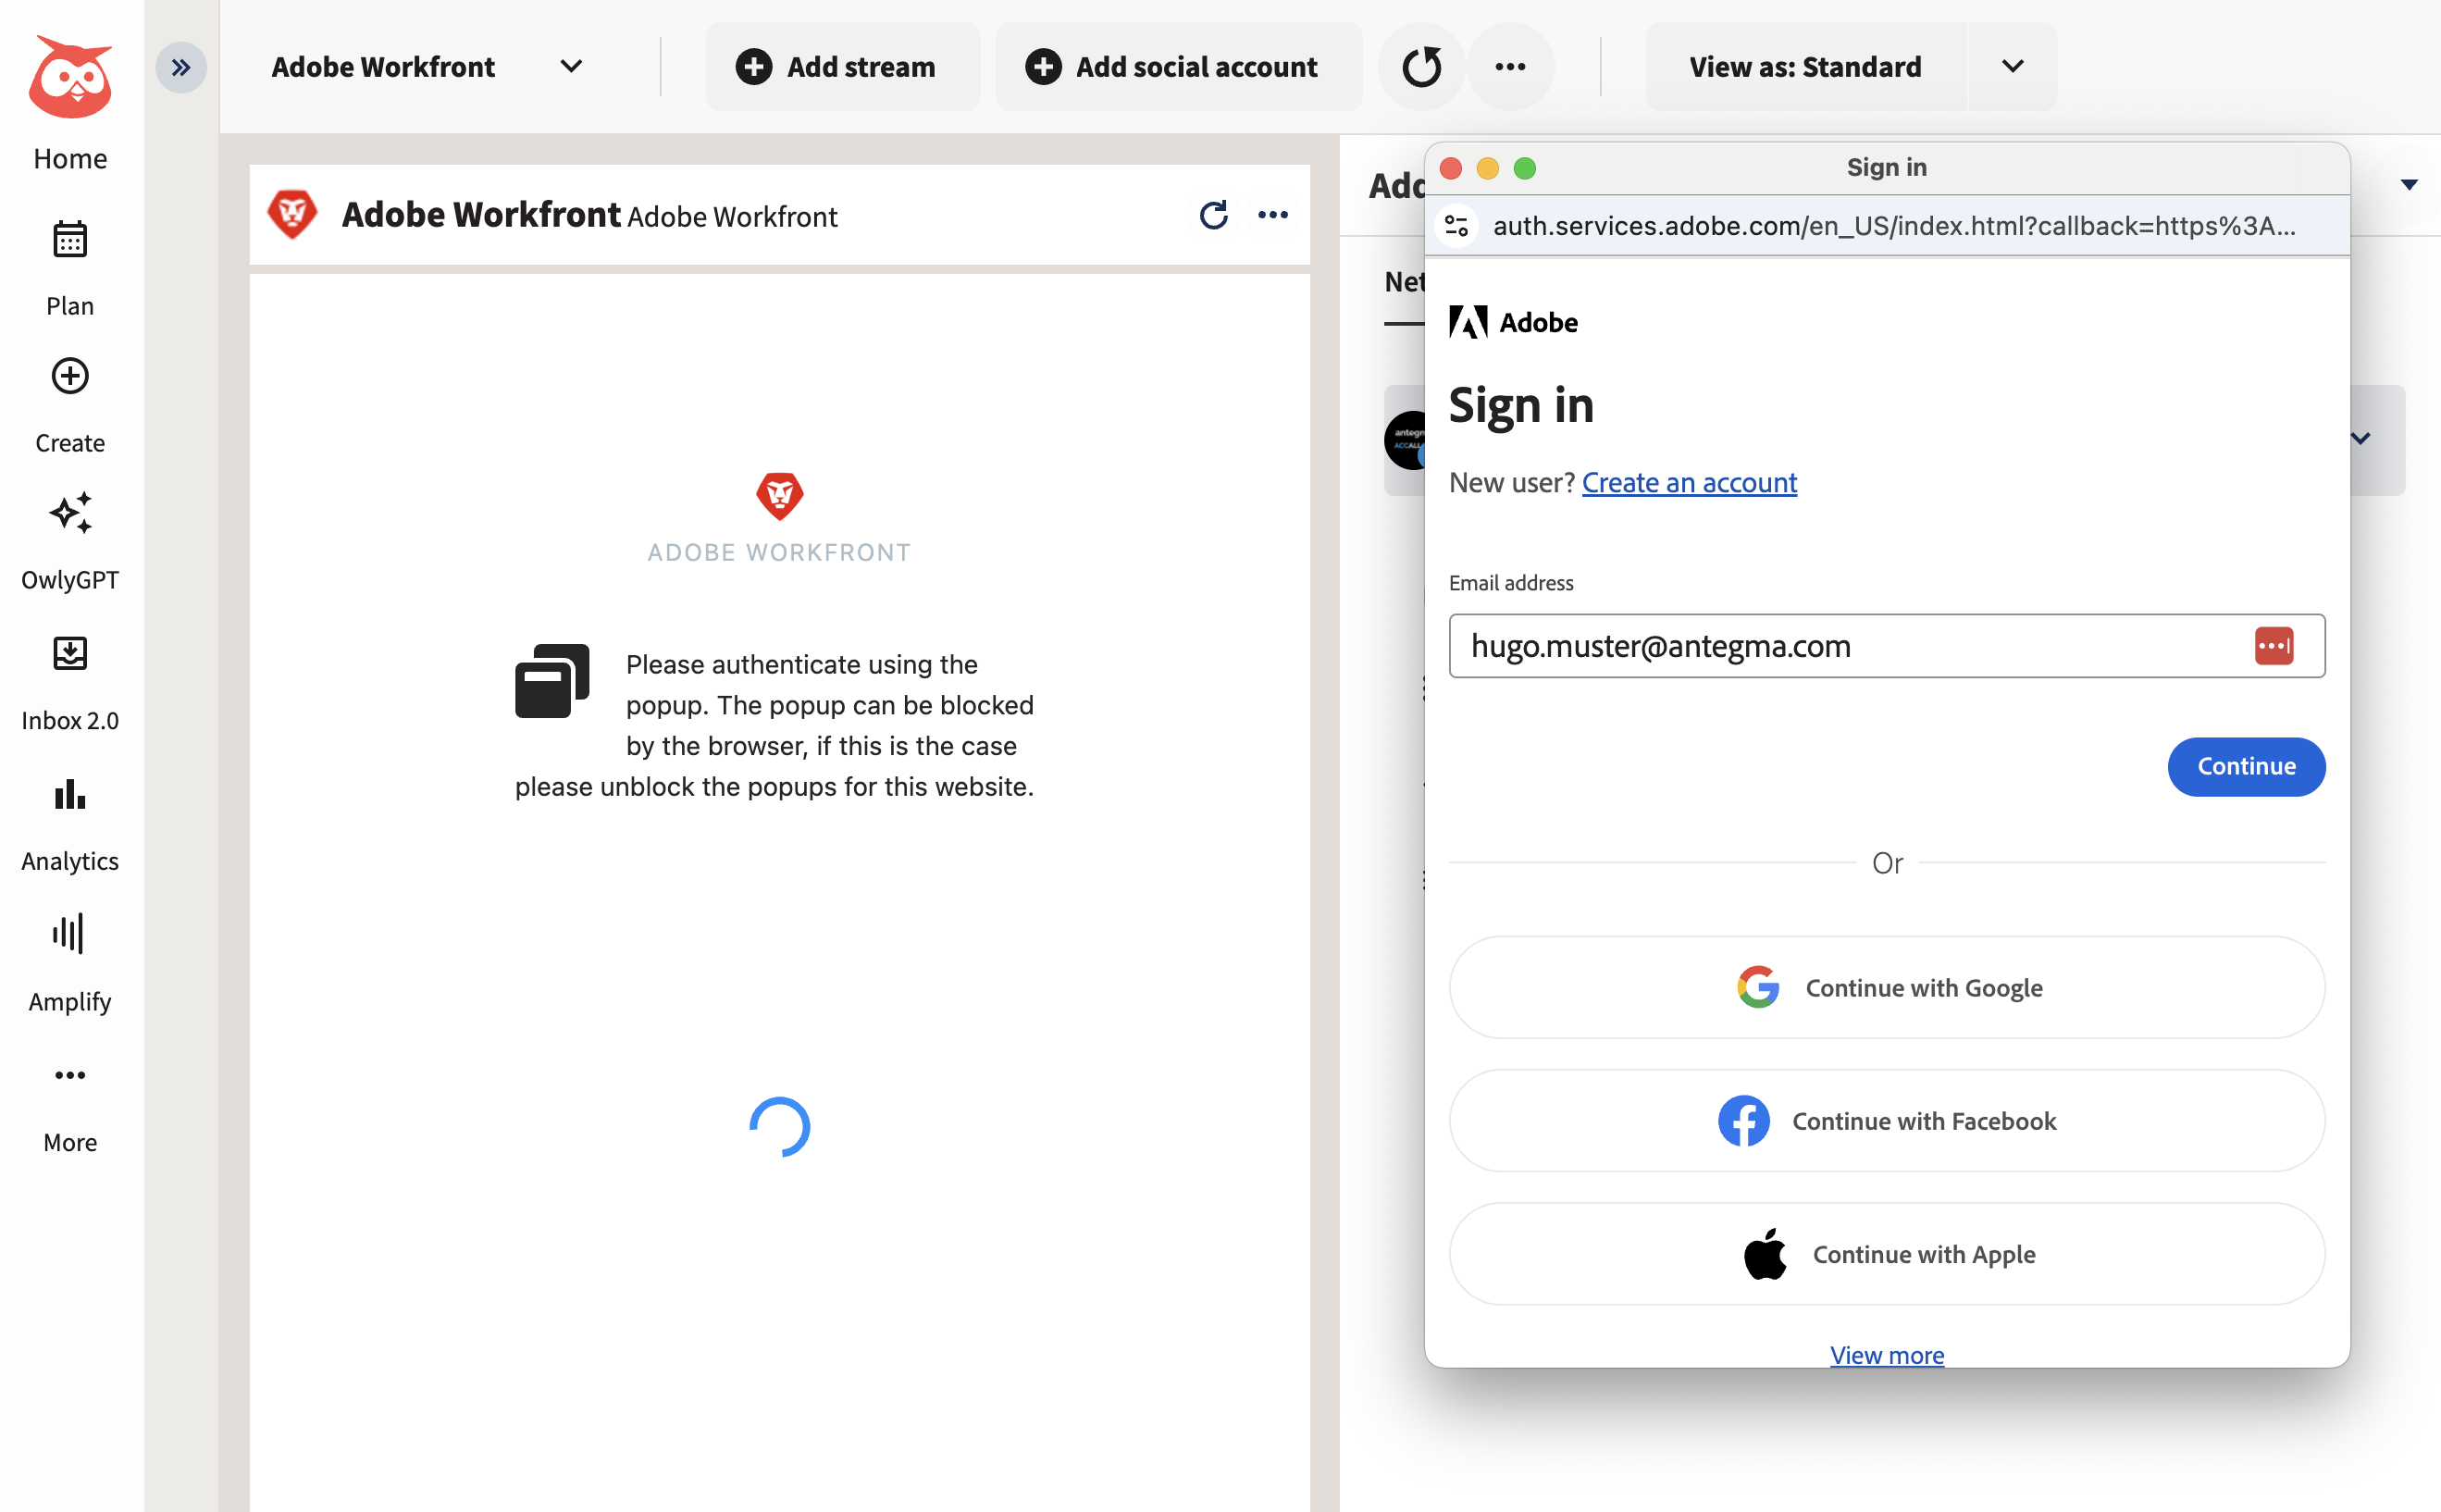
4. Login into Adobe Workfront
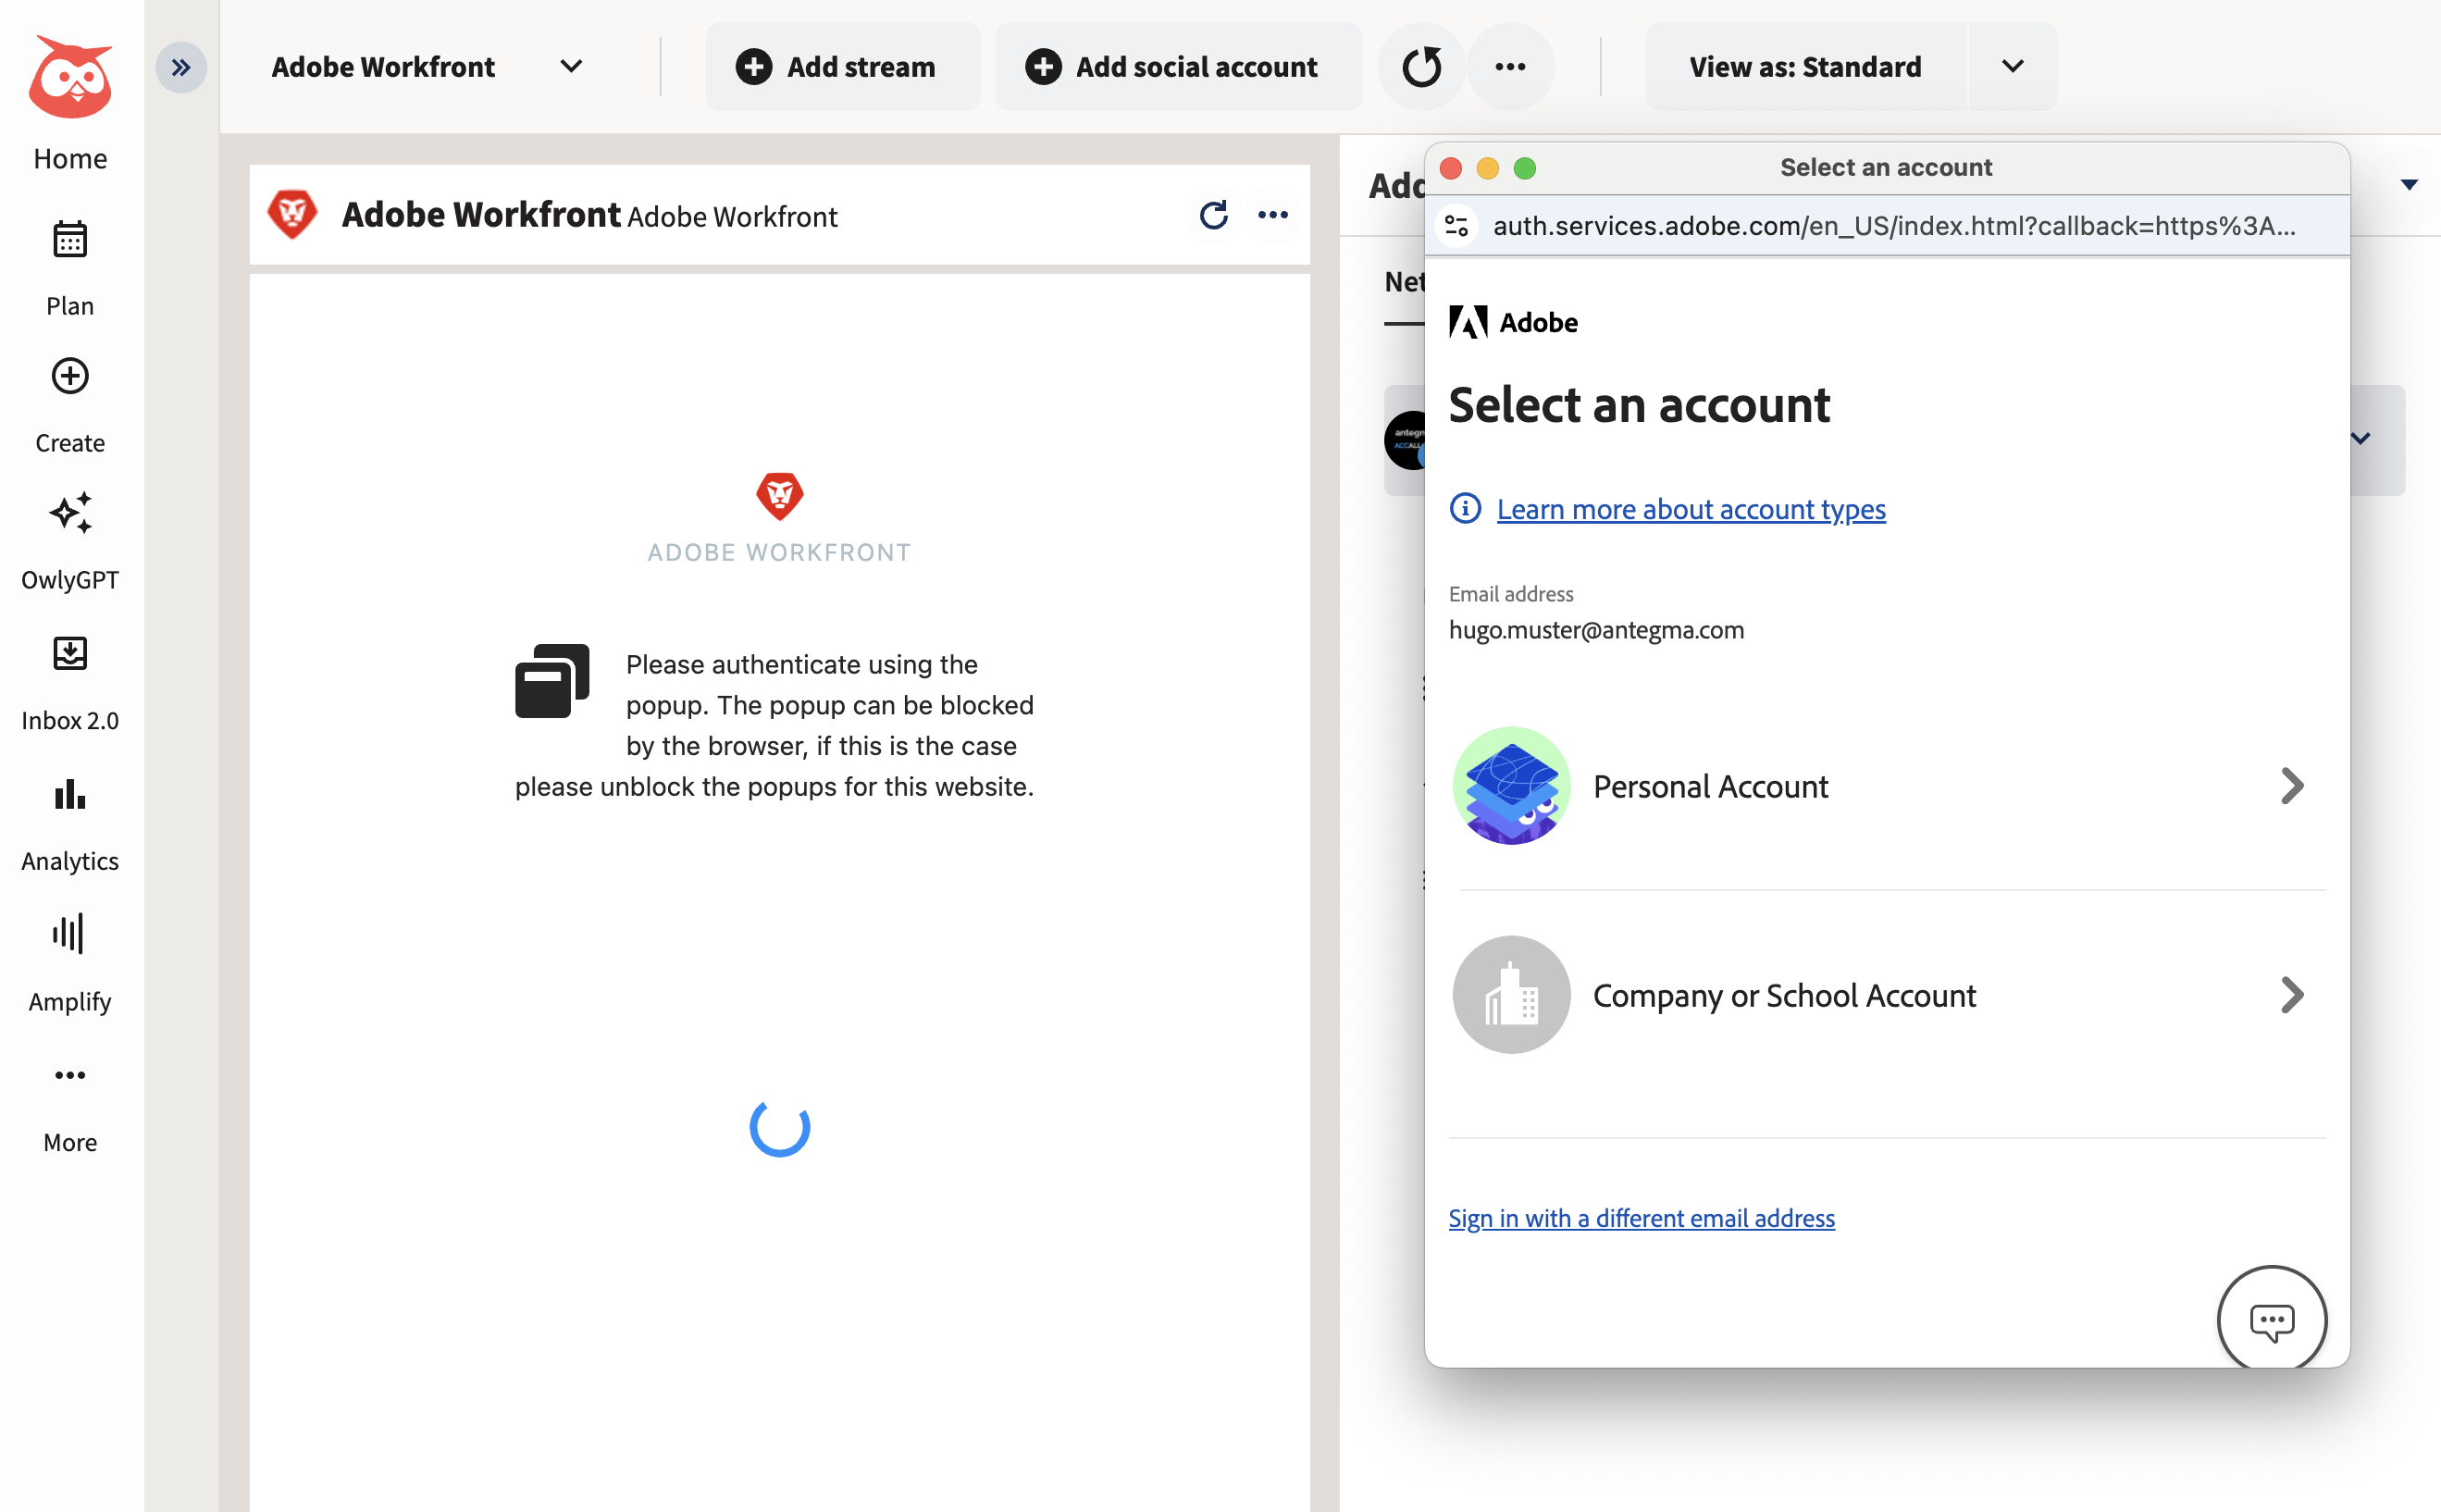
You will be forwarded to Adobe Login Screen to login using Adobe ID.
Please enter your Email address and click the button “Continue”.
Select “Company or School Account“ or the organization of your Workfront instance if you have multiple Adobe organizations.
Please enter the Password of your Adobe ID and click the button “Continue“.
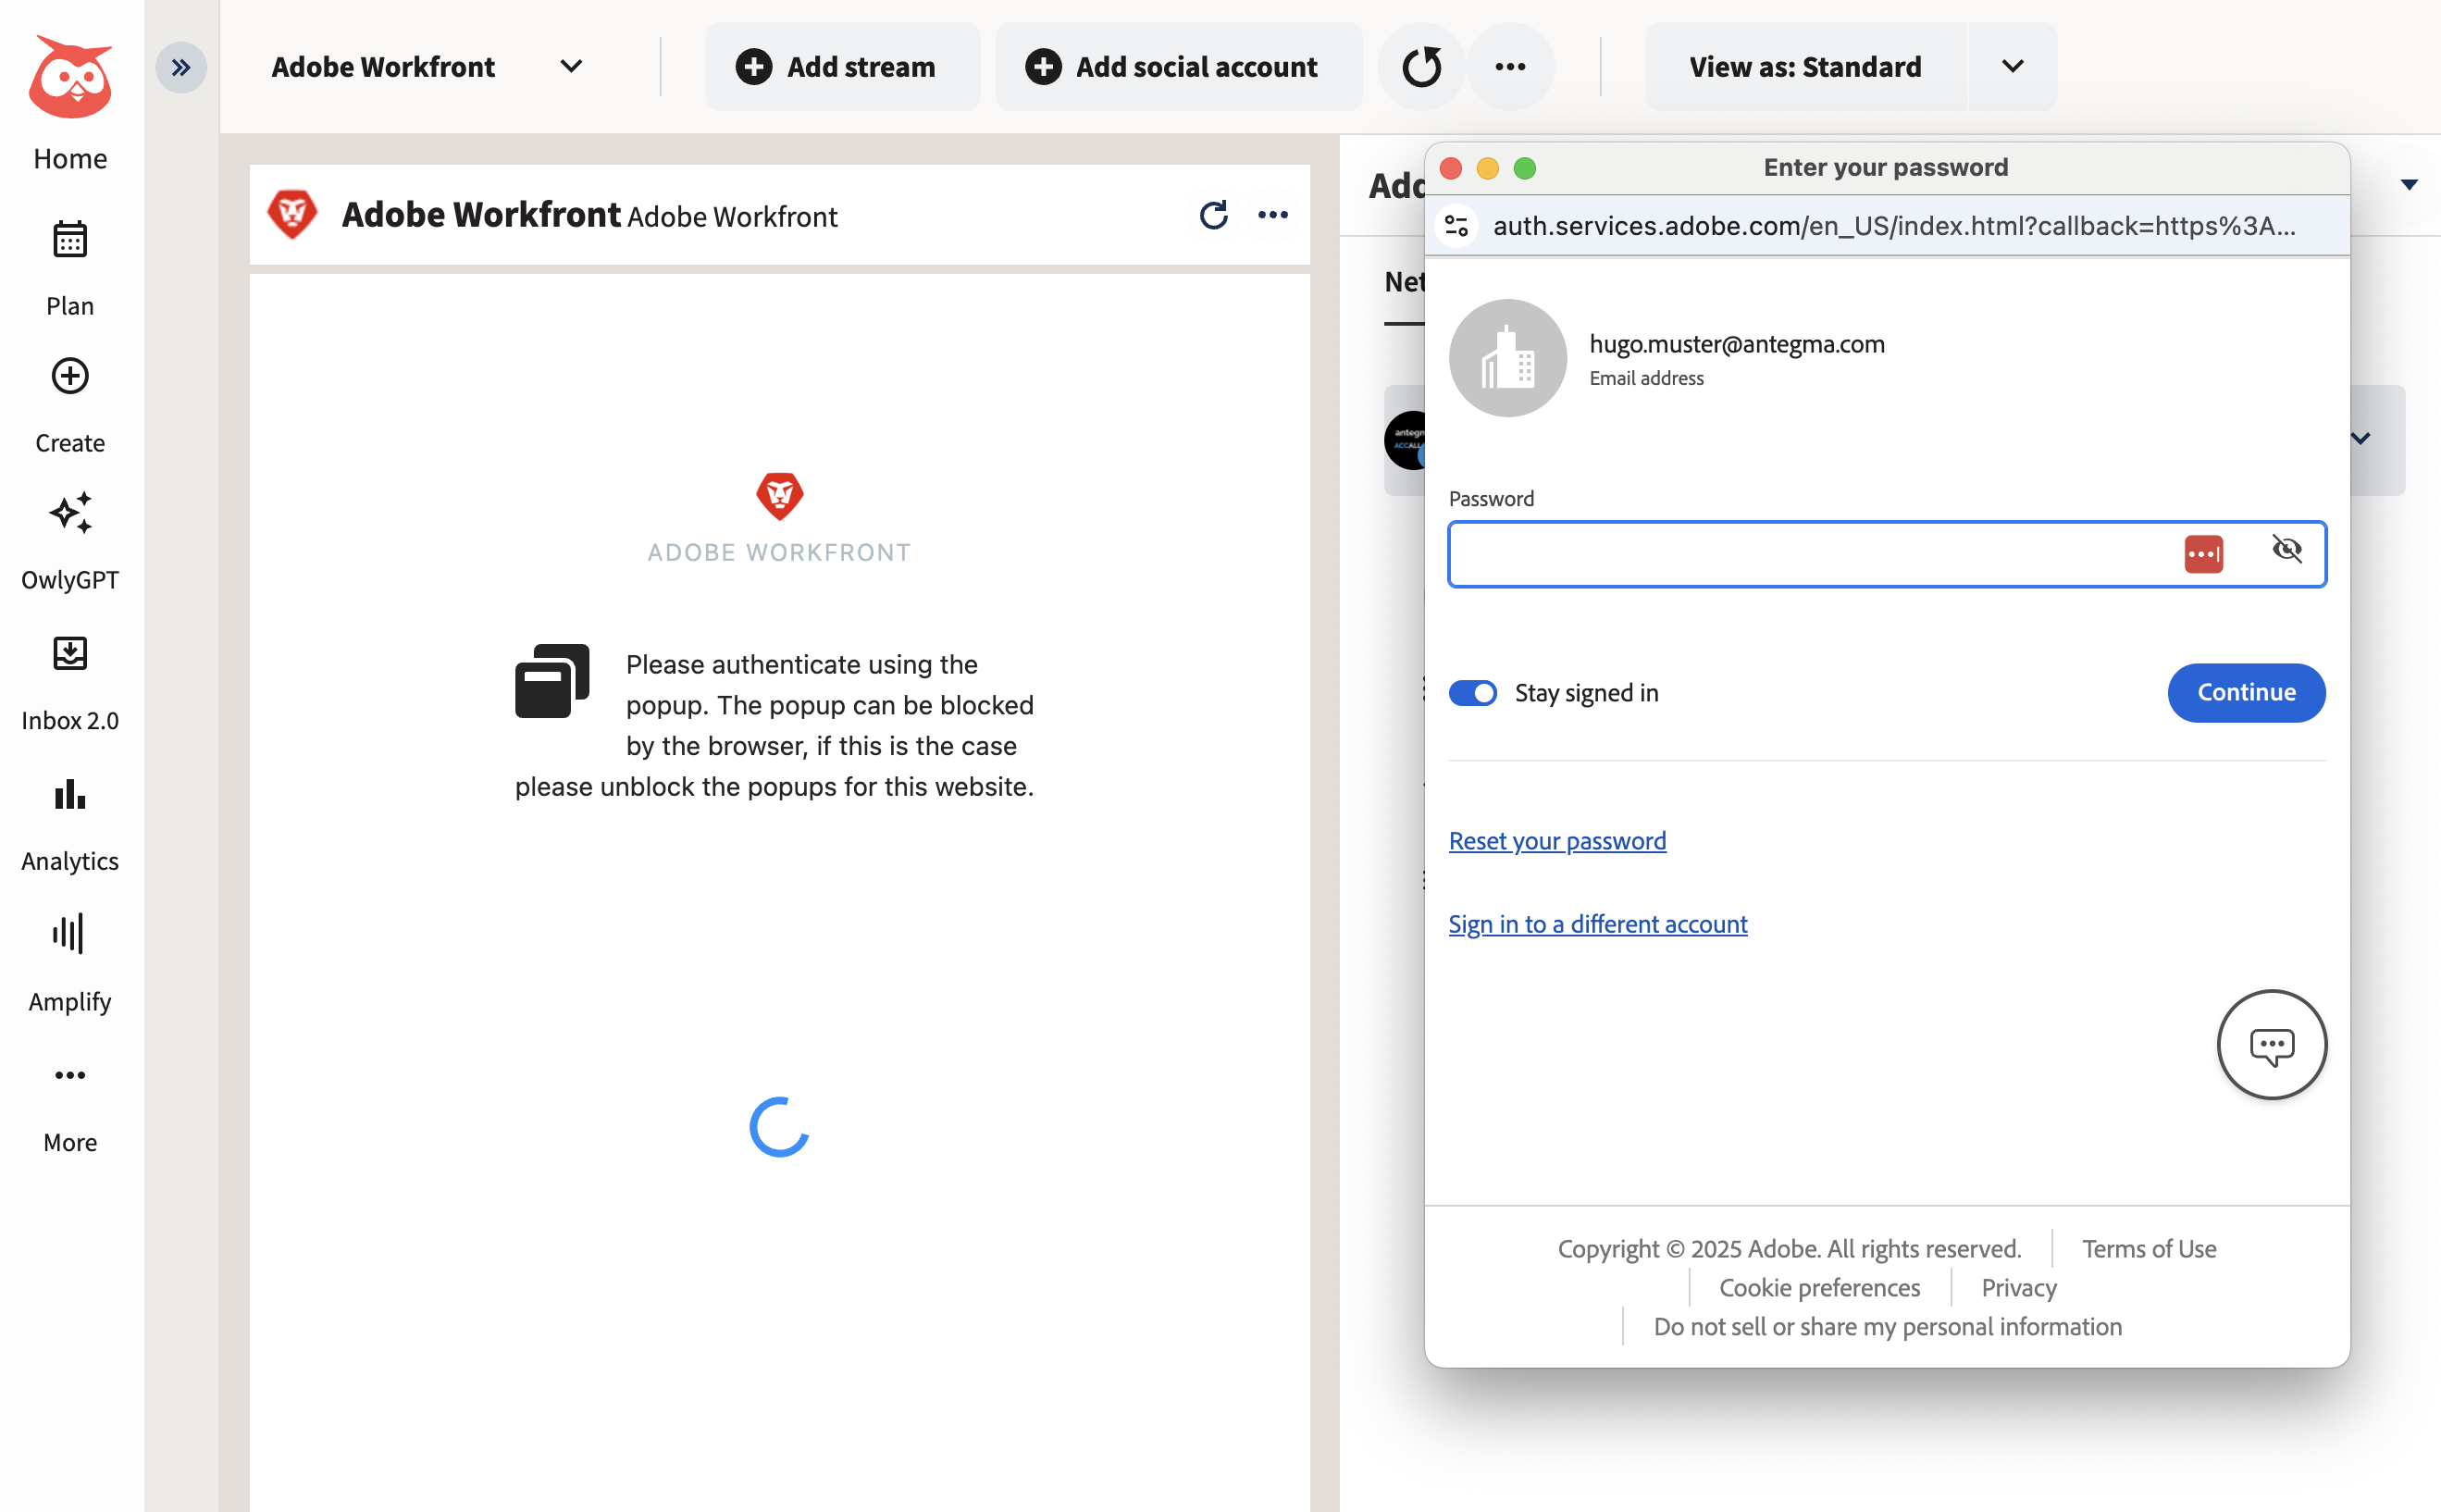
Congratulations! You’re logged in now and start using your tasks.